Lesson 6 of 12 · ~6 min
Tune per-event settings
You'll learn: Adjust radii, scan size, cadence, and event timing on the /event settings page after the scan is saved.
A saved event in your /events list.
01 Open the settings page
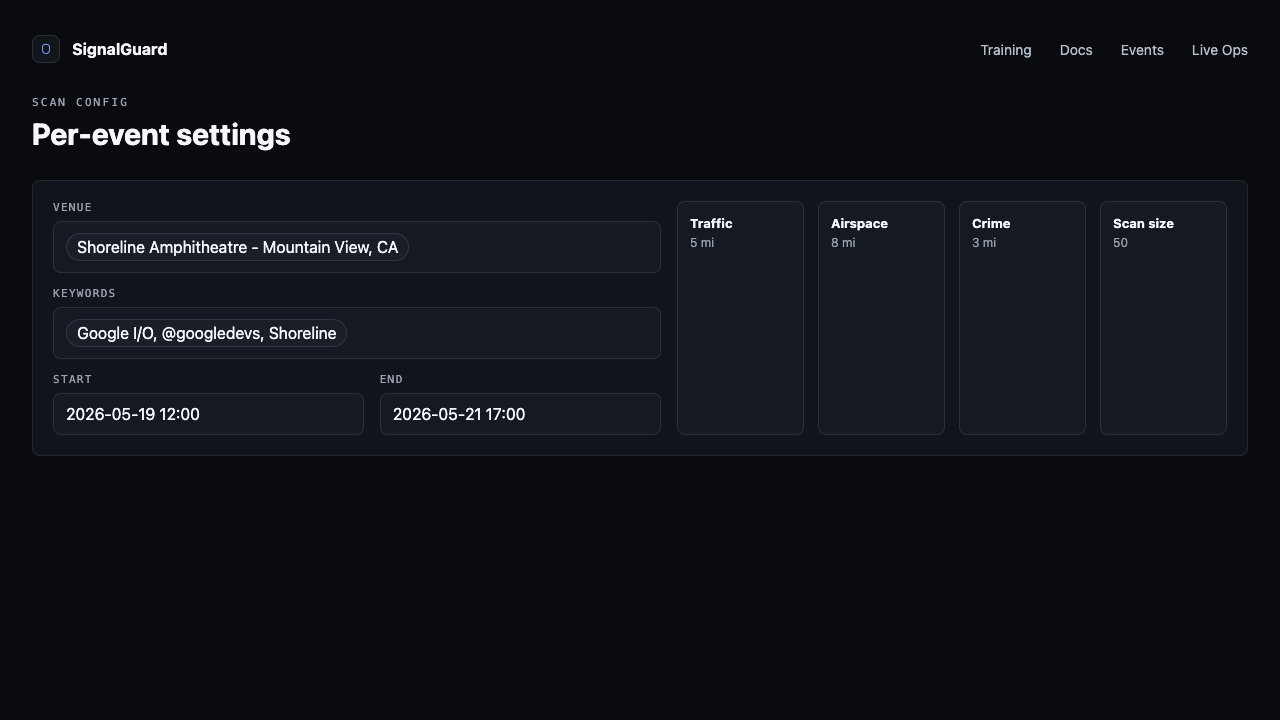
From /events, click any event card's pencil Edit icon, or navigate to /event?id=<uuid>. The settings page shows the full editable record and a recent-scans list.
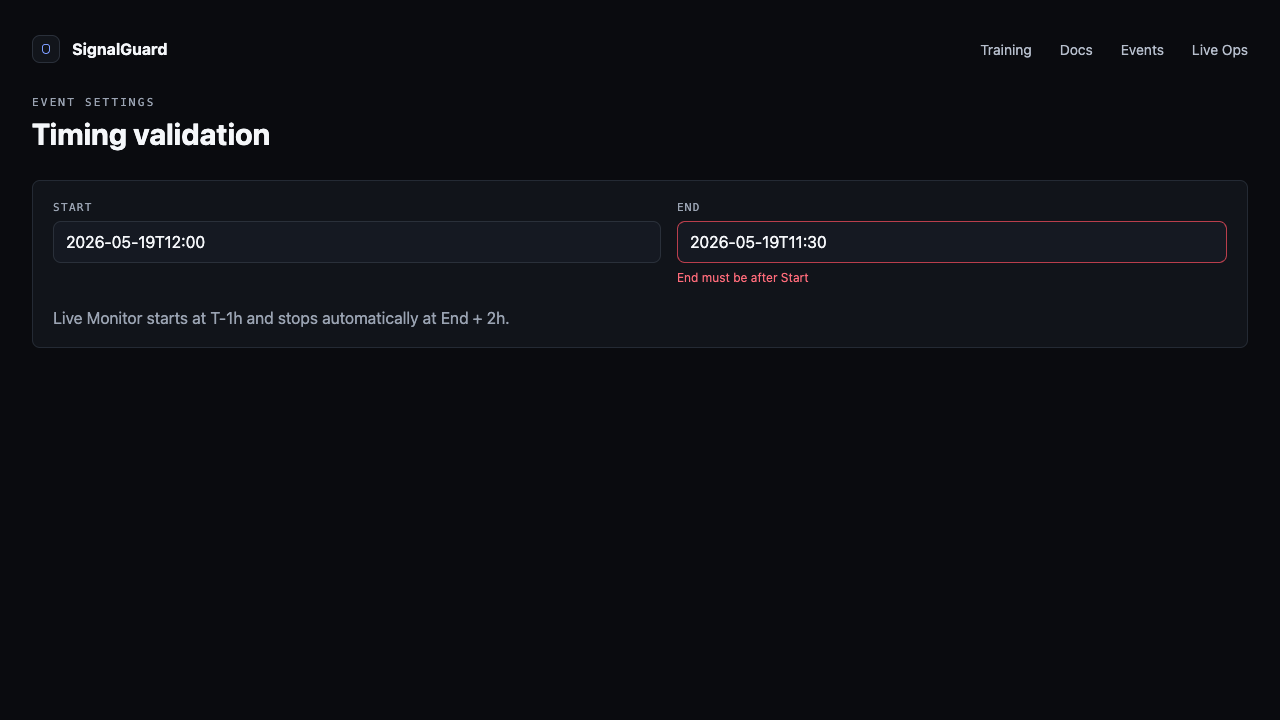
02 Update Start and End
Edit either datetime field. End must stay after Start; an inline error appears if not. Saved Start time drives Live Monitor auto-activation (T-1h) and the phase strip; End drives the auto-stop at End + 2h.
03 Tune the three radii
Traffic, Airspace, and Crime radii each scope a different signal cluster:
- Traffic radius (1-10 mi, default 2) — incident scope around the venue. Tight for downtown arenas, wider for stadiums with regional draw.
- Airspace radius (1-10 mi, default 5) — ADS-B and TFR scope. Wider for VIP/drone-aware operations.
- Crime radius (1-10 mi, default 3) — local crime baseline. Neighborhood scope by default.

04 Set scan size
Scan size is posts-per-chatter-source. 10 is a fast routine sweep; 100 is a deep audit for high-stakes events. Larger scans take longer (~60s vs ~30s) and use more API quota.
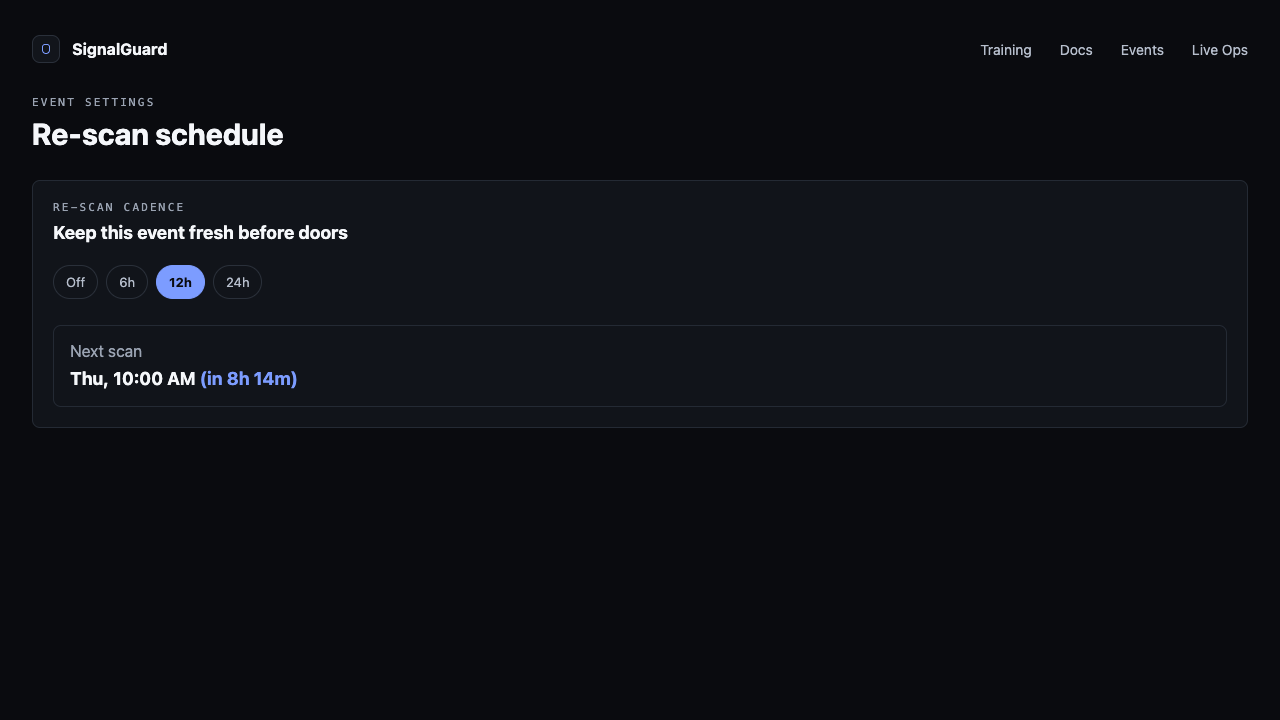
05 Pick a re-scan cadence
The Re-scan schedule section sets how often background scans run between now and the event. Off = only manual runs. 6h / 12h / 24h = cron tick that re-runs the scan at that interval, updating the latest brief and feeding Live Monitor's snapshot history.
Tips
- Changes save automatically after a 600ms debounce — no Save button to click for most fields.
- Changing radii does not retroactively re-run past scans. They take effect on the next scan only.
- Set cadence to 24h for events more than a week out. Cadence at 6h on a 30-day-out event wastes quota.