Lesson 9 of 12 · ~6 min
Build and scan a tour
You'll learn: How to build a tour as an ordered run of venue stops, turn every stop into a scannable event, and watch the whole route from the /tours portfolio.
You need write access to at least one company or venue org — a tour must be owned by one.
01 Understand what a tour is
A tour is an ordered, dated run of venue stops. Each stop is a real event under the hood, so it carries the full event machinery — scans, live monitoring, reports, and PDFs. Grouping stops into a tour lets you add them once, scan each, and watch the whole route from one place.
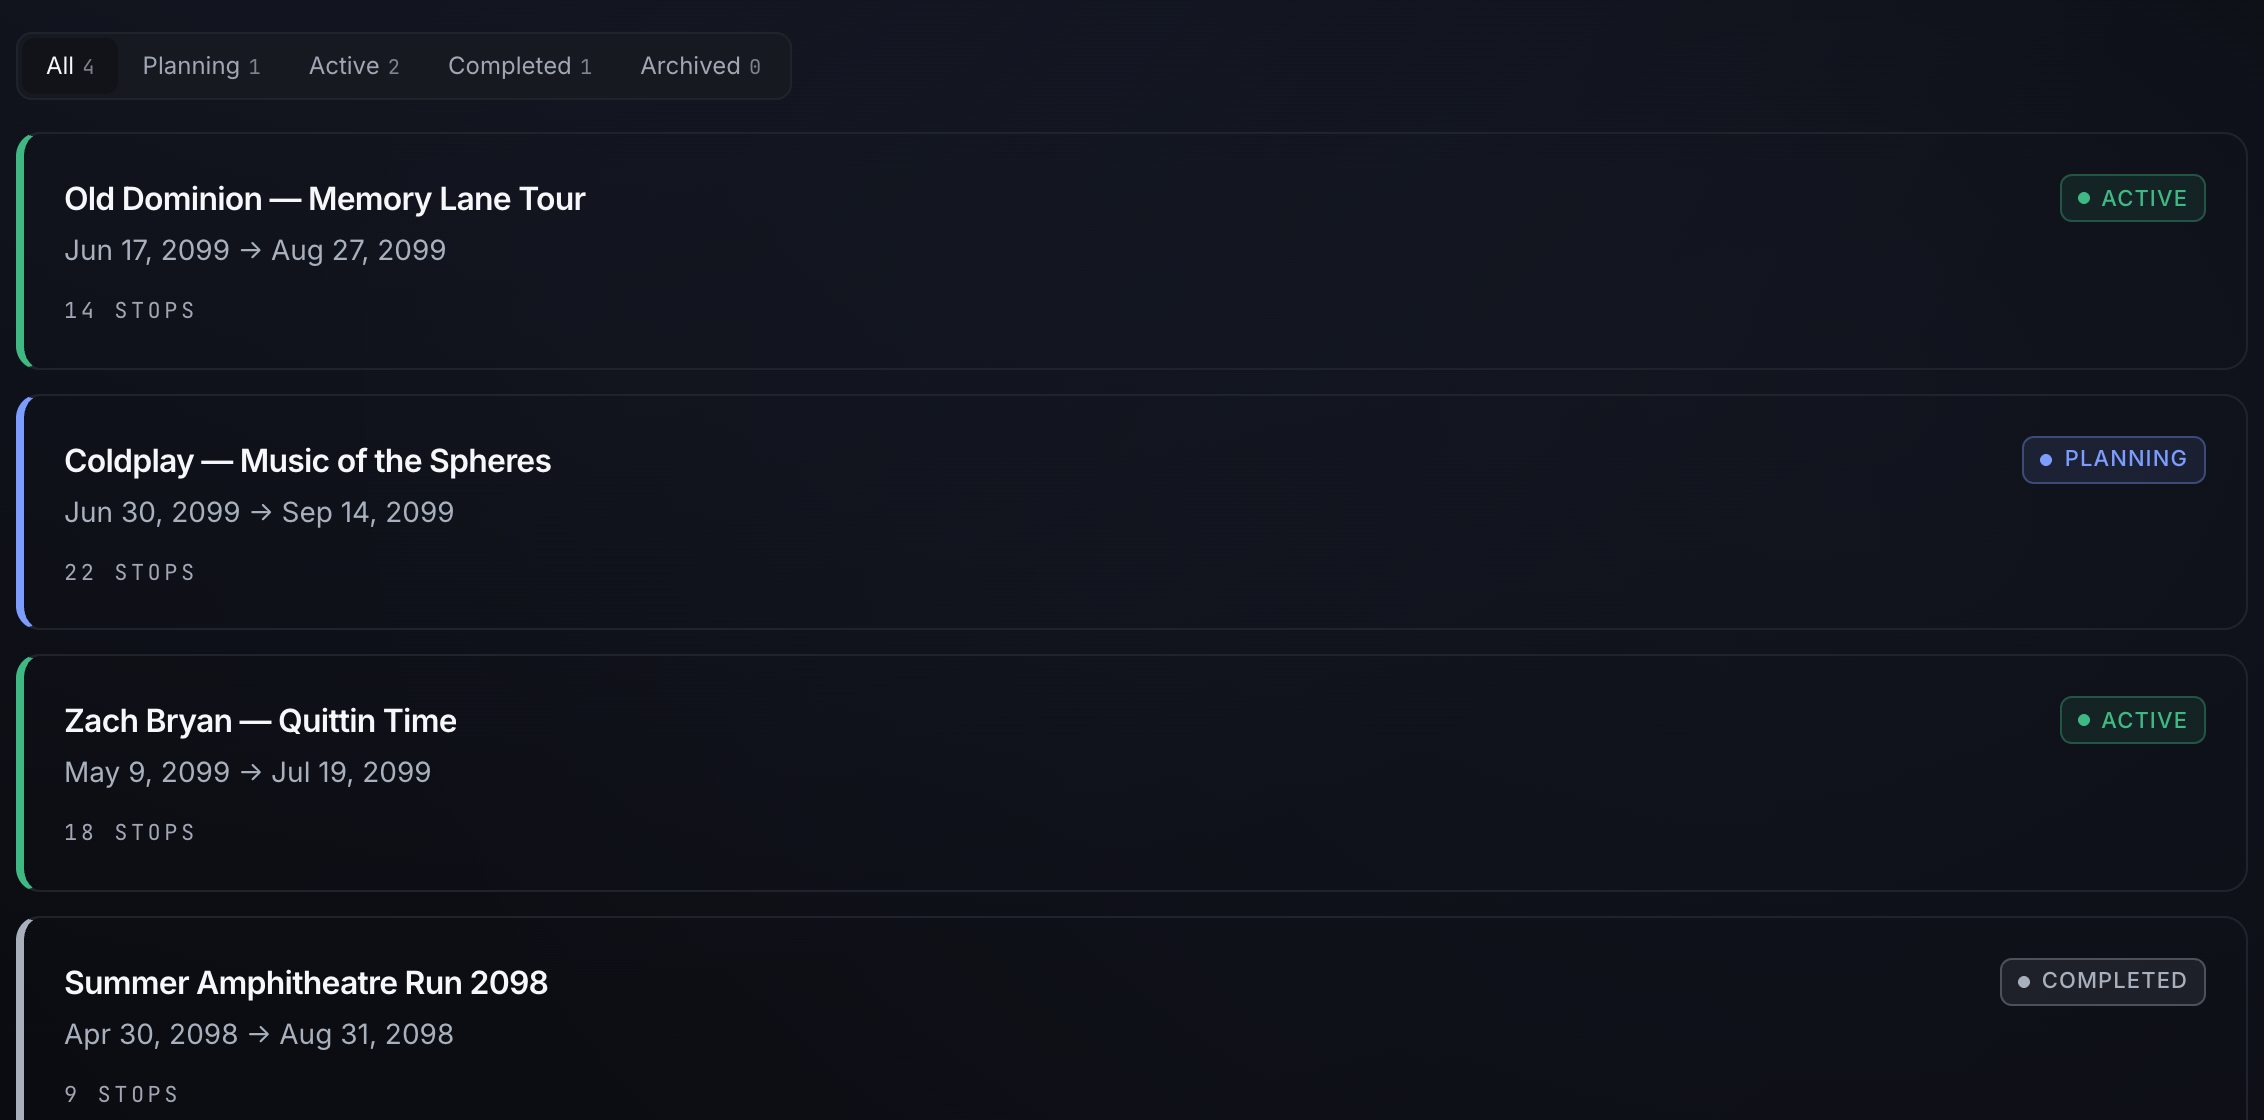
- Open /tours to see your portfolio. The eyebrow reads the total count (for example, "12 tours").
- Each tour card shows its status pill, date window, next stop, stop count, and a per-stop Stop timeline strip colored by each stop's most-recent scan severity.
02 Create a tour
Click New tour (top right of /tours) to open the Add a tour modal. Name the tour, pick the Owning org if you're prompted, then choose how to add stops using the three source tabs:
- Find automatically — type an artist or act (for example, "Old Dominion") and click Find stops. SignalGuard pulls upcoming dates from Ticketmaster plus the web; review the staged stops before creating.
- Upload CSV — drop a file with the columns
stop_name, venue, event_start, event_end, keywords, lat, lon. The Sample CSV link gives you a template. The summary shows how many stops are ready and flags any missing start/end (those are skipped). - Start blank — create the tour now with just a name and add stops on the next screen.
Click Create tour and you land on the tour at /tour?id=….
03 Add stops to the tour
On the tour page (/tour), click Add stop to open the Add stop modal. A stop is a venue with a start and end:
- Venue (required) — start typing to pick from venue/address suggestions; choosing one captures coordinates so the stop lands on the route map immediately.
- Event name — optional; defaults to the venue.
- Start and End (required) — end must be after start.
- Keywords — comma-separated terms (for example,
protest, security) that focus that stop's scans.
Click Add stop. New stops append to the end of the ordered route.
04 Scan the route
Every stop you create starts its scan lifecycle automatically — an immediate baseline scan plus scheduled scans through the event window. You don't have to kick anything off manually.
- To force a fresh sweep now, click Scan all stops in the tour header. It queues one immediate scan per stop and confirms with a "Queued N scans" message; the page reloads so each stop reflects its new state.
- Each stop row also carries its own event actions: Live/Activate, Report, PDF, Map, Run, plus edit and remove. Use Run to re-scan a single stop.
- Until a stop has a scan it reads UNSCANNED; once scanned, its severity (CRITICAL/HIGH/MEDIUM/LOW) tints the row's left border and timeline node.
05 Watch the whole tour
The tour page gives you three synced views of the route: a Mapbox route map with numbered, severity-colored pins, a chronological Timeline spine with a "now" marker, and the ordered stop list. Clicking a pin, a timeline node, or a row highlights the same stop across all three.
- Click 360 Threat Report in the header to generate an aggregated PDF rollup across every scanned stop in the tour.
- Use Edit to rename the tour or change its status; use Delete to remove the tour (stops detach but keep their scan history).
06 Filter the portfolio by status
Back on /tours, the status filter sits above the grid with tabs for All, Planning, Active, Completed, and Archived. Click a tab to narrow the list to that status.
- Each tab carries a count badge, and those counts are absolute totals across every tour — so the full picture stays visible even while one status is selected.
- A tour's status comes from its Edit screen; new tours default to Planning.
Tips
- Pick the venue from the autocomplete rather than free-typing it — that captures coordinates so the stop appears on the route map without a geocode lookup.
- CSV rows missing
event_startorevent_endare skipped on upload; the modal summary flags how many before you create the tour. - The 360 Threat Report and rollup only cover stops that have already been scanned — run at least one scan before generating it.
- Deleting a tour detaches its stops rather than destroying them: each stop survives as a standalone event with its scan history intact.
- The next-stop line and "now" marker only appear while a tour has upcoming or in-progress dates, so a glance at the card tells you where the tour stands in time.